Overview
- Summary
- Tips & Ideas
- Get Started
- Store Setup/Management
Setup Tab
- Summary
- General Settings
- Payments
- Taxes
- Shipping
- Multi Language Stores -
FAQs
Catalog Tab
- Summary
- Category Setup
- Product Filters
- Product Variants
- Add a Product
- Clone a Product
- Import/Export Products
Site Content
- Summary
- Custom Pages
- Adding News
- Viewing News
- Product Ratings/Reviews
Marketing Tab
- Summary
- Cart Discounts
- Discount Coupons
- Newsletter
- About Froogle
- About Shopping.com
- Survey Questions
at Checkout
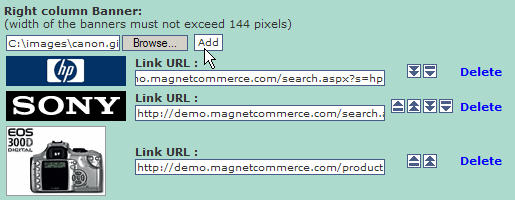
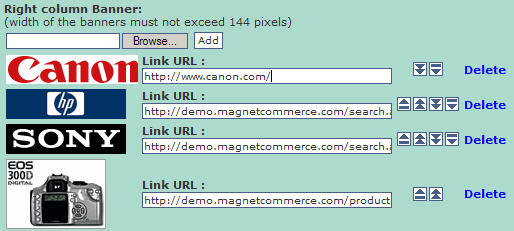
- Banners
- About IntelliContact
- About Del.icio.us
- Product Promotion
- Search Engine
Optimization
- Multi Language Stores -
FAQs
Reports Tab
- Summary
- Sales Reports
- Website Statistics
Orders Tab
- Summary
- Order Management
Stock Tab
- Summary
- Product Stock Record
- Quick Product Stock
Guide
Members Tab
- Summary
- Online Store Members
- Add a Member
- Newsletter
- Export Store Members
Other
- Getting Help
- Setup
your Email Accounts
Banners |
||||||||||||||
|
|
||||||||||||||
| Magnet
Commerce |
||||||||||||||
|
||||||||||||||